


Retopology II
Now that we are in "Edit Topology" mode, let's go over some basic controls. For starters, you will notice that you can still navigate in your viewport just like you are in edit mode. Here's a list of common controls:
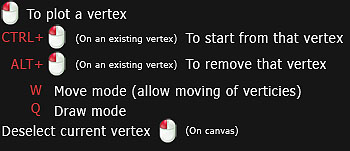
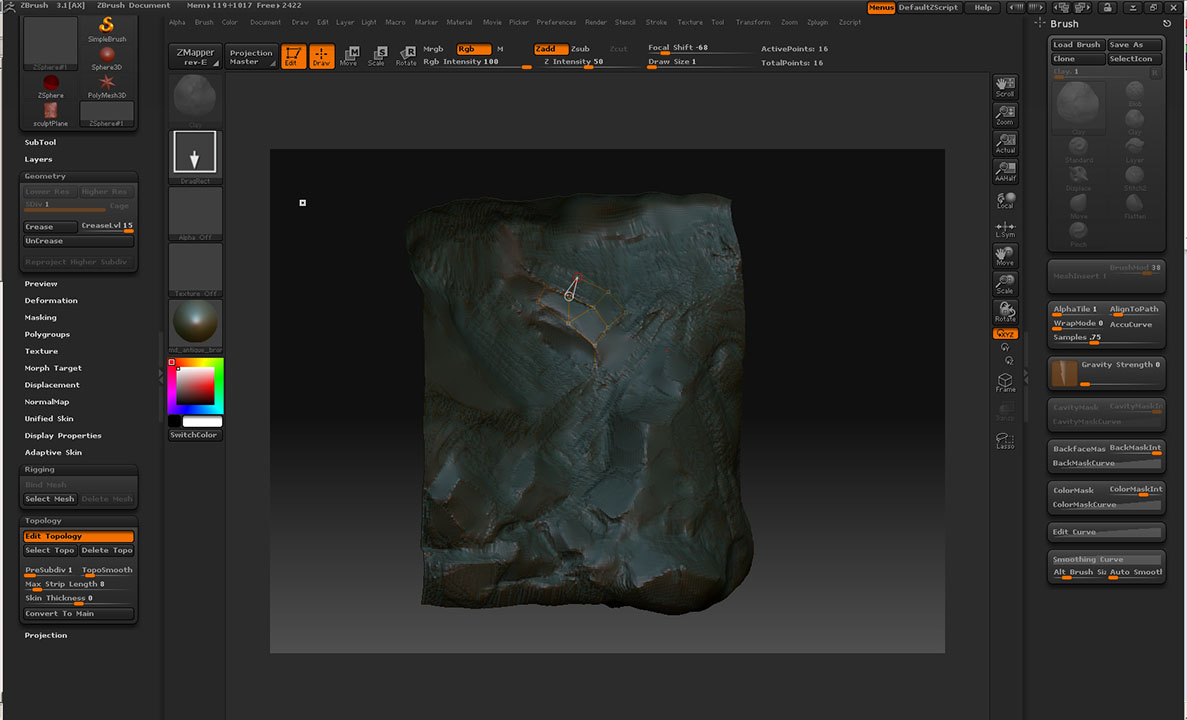
The red circle indicates a vertex that's being selected. To plot it onto your mesh, simply click on the surface, the vertex will try its best to follow the surface of the mesh. To connect to another vertex, simply click on them, you will notice a white triangle will be drawn between the two verticies. The orange lines drawn on your screen represents the newly created topology based on the surface of your high poly mesh.
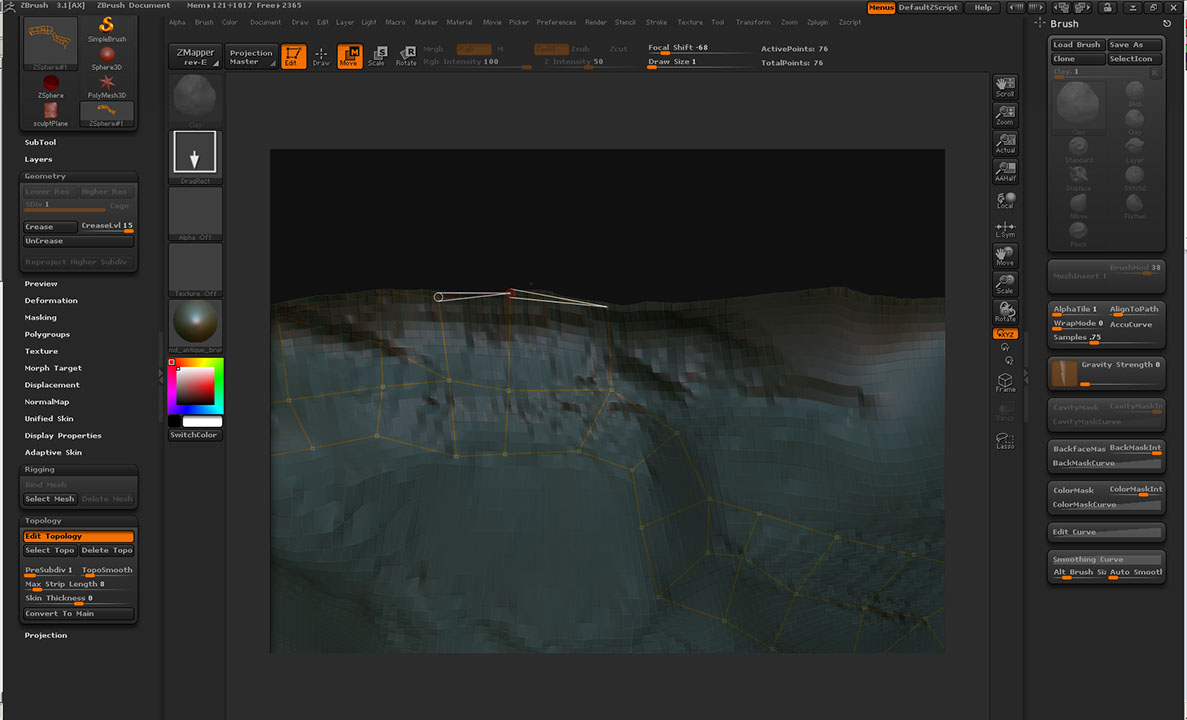
Sometimes your newly plotted vertex may not fall directly ontop of your high poly mesh's surface. (Left) You can move it back by switching into "Move" mode (W), and dragging the vertex back to the surface, ZBrush will attempt to re-align it. (Right)
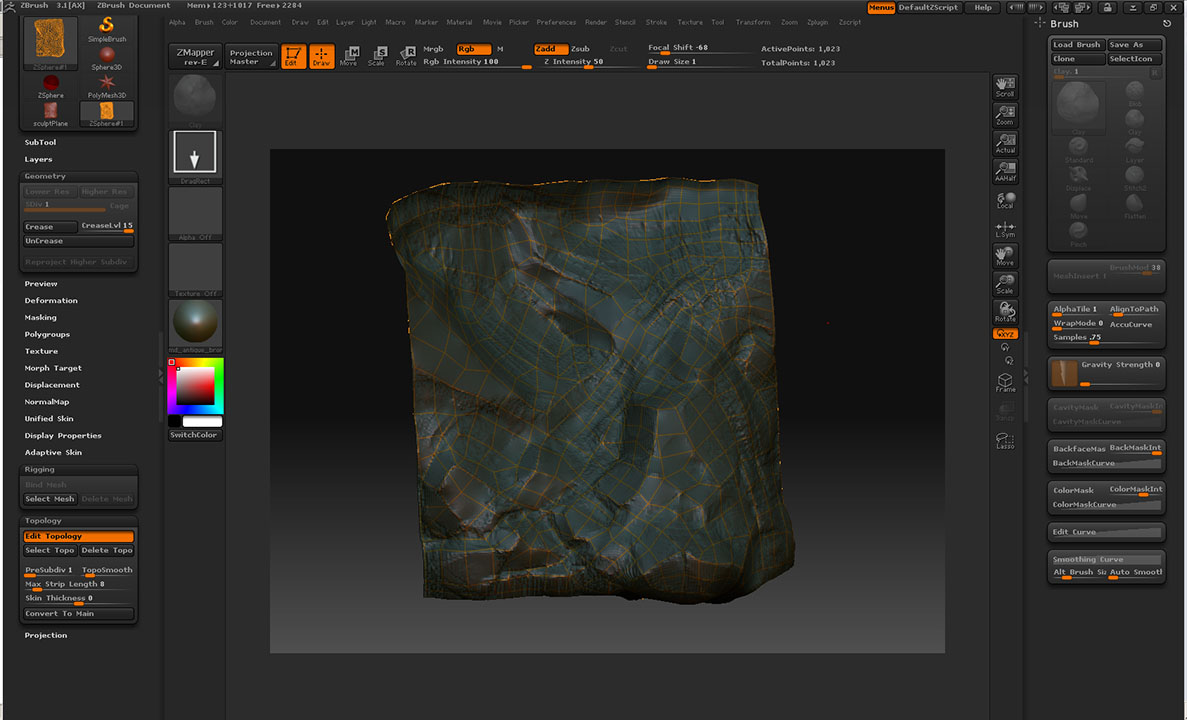
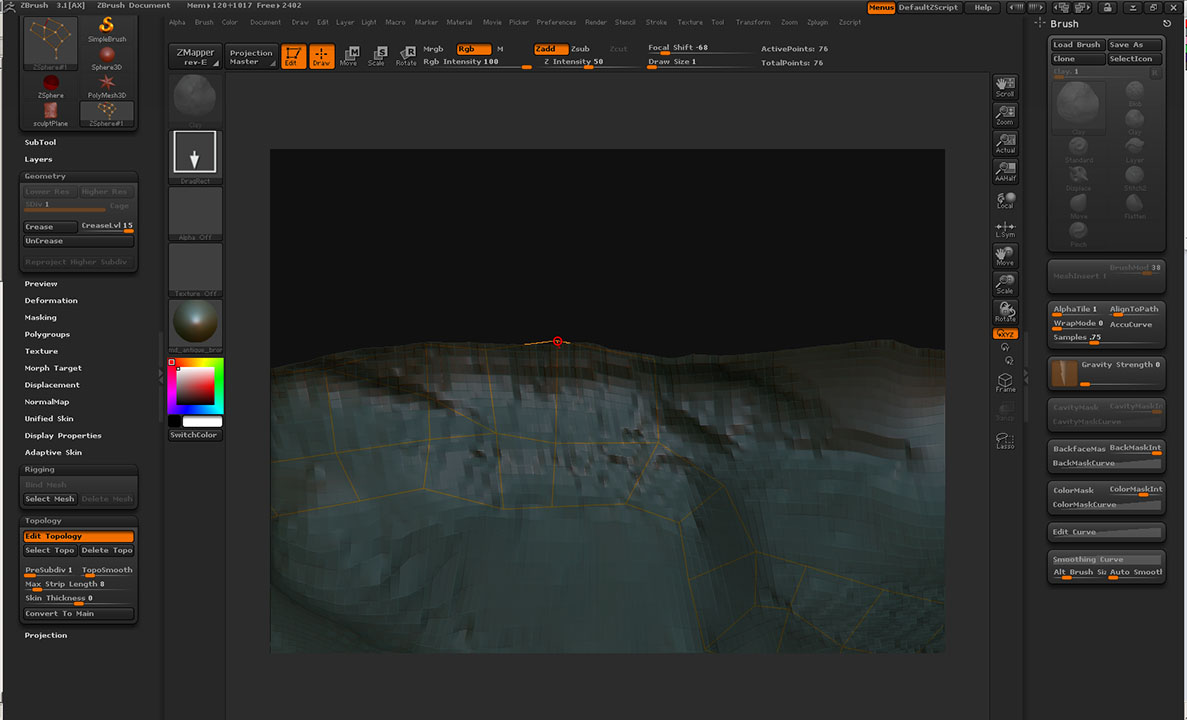
Once you have completed retopologizing your high poly mesh, it should be covered by a a new wireframe layout like this. Double check and make sure that the verticies that you have plotted match the surface of the high poly mesh to ensure greater accuracy of your silhouette. In the next part of the tutorial, we will go over the last steps to exporting your newly created topology to a 3D package.
This concludes the retopology II part of the tutorial.
Page
Copyright 2004-2019 Andy Xiao. All Rights Reserved.