


Importing
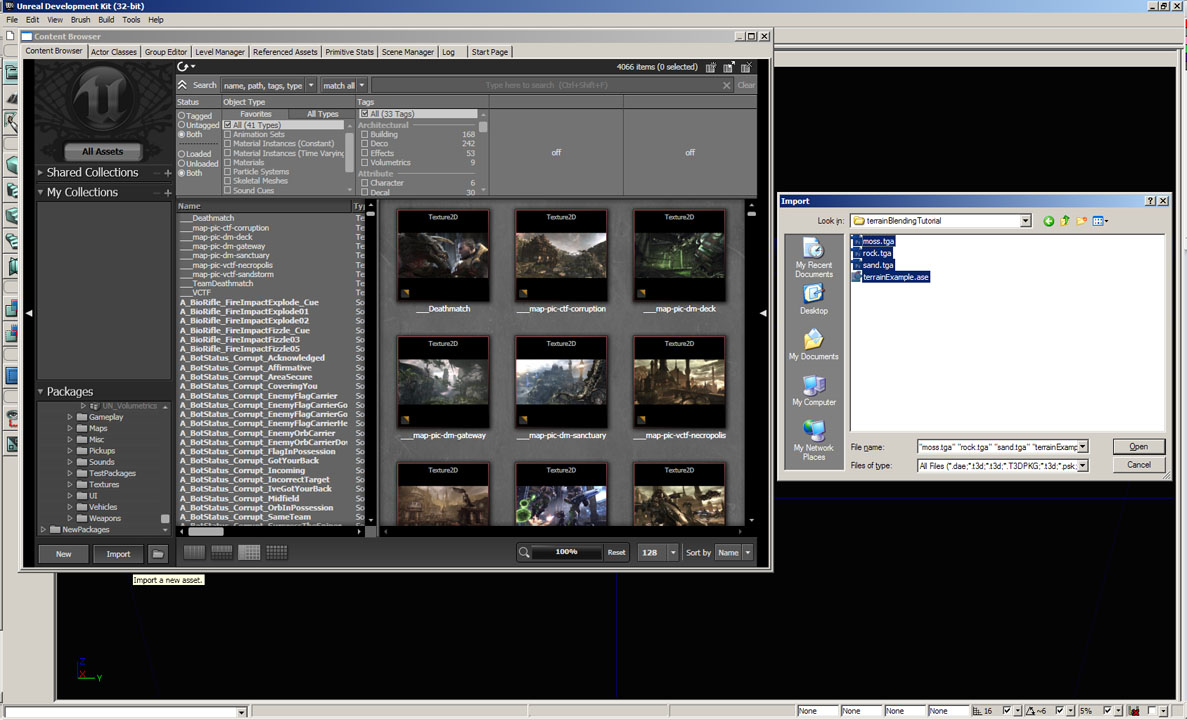
Once we have the editor open, navigate to the Content Browser, at the bottom left, click on "Import" to import your files. (If you are not using the Unreal Development Kit, you can go to the Generic Browser, navigate to file/import) The Unreal Development Kit can be downloaded for free at http://www.udk.com
After importing all your files into the appropriate group. Save your package to a desired location.
Now that we have all the necessary files to create a material, let's move on to the material creation process.
Material creation
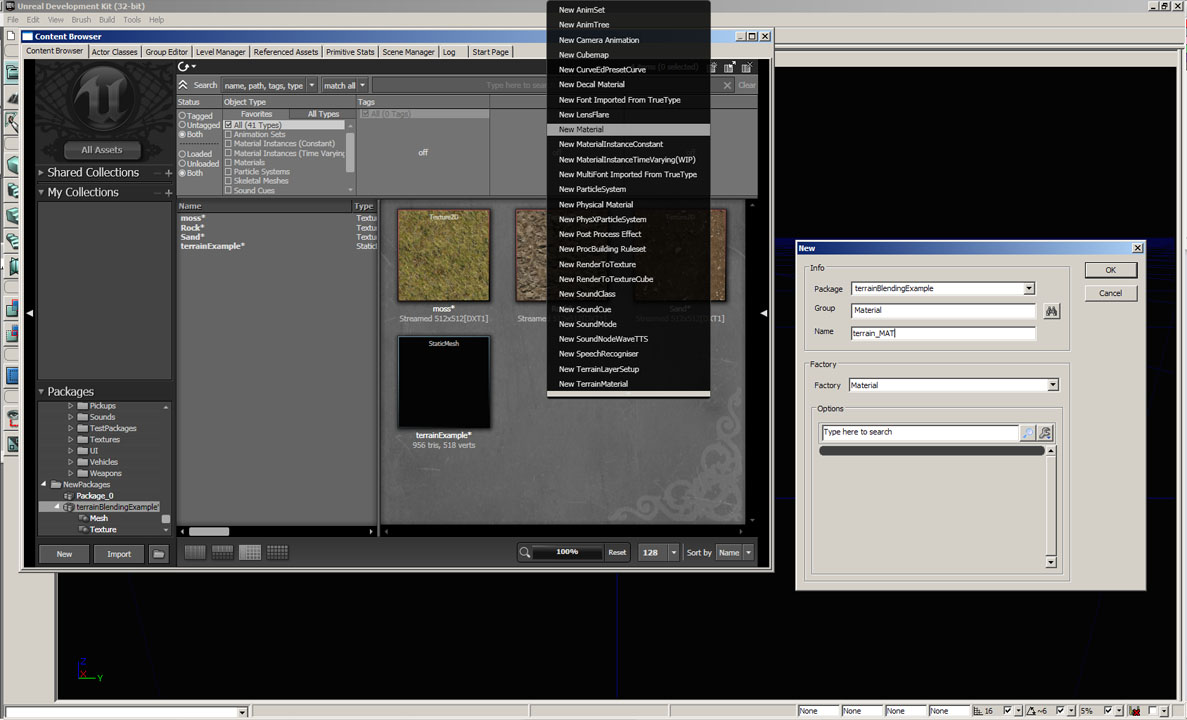
You may right click on the background of the Content Browser to bring up the content creation menu. In the menu, select "New Material". A dialogue will appear that allows you to specify where to store and what to call your newly created material. Click "OK" once the proper fields have been filled.
The following part of the tutorial assumes that you have a basic understanding of how the Unreal 3 material editor functions.
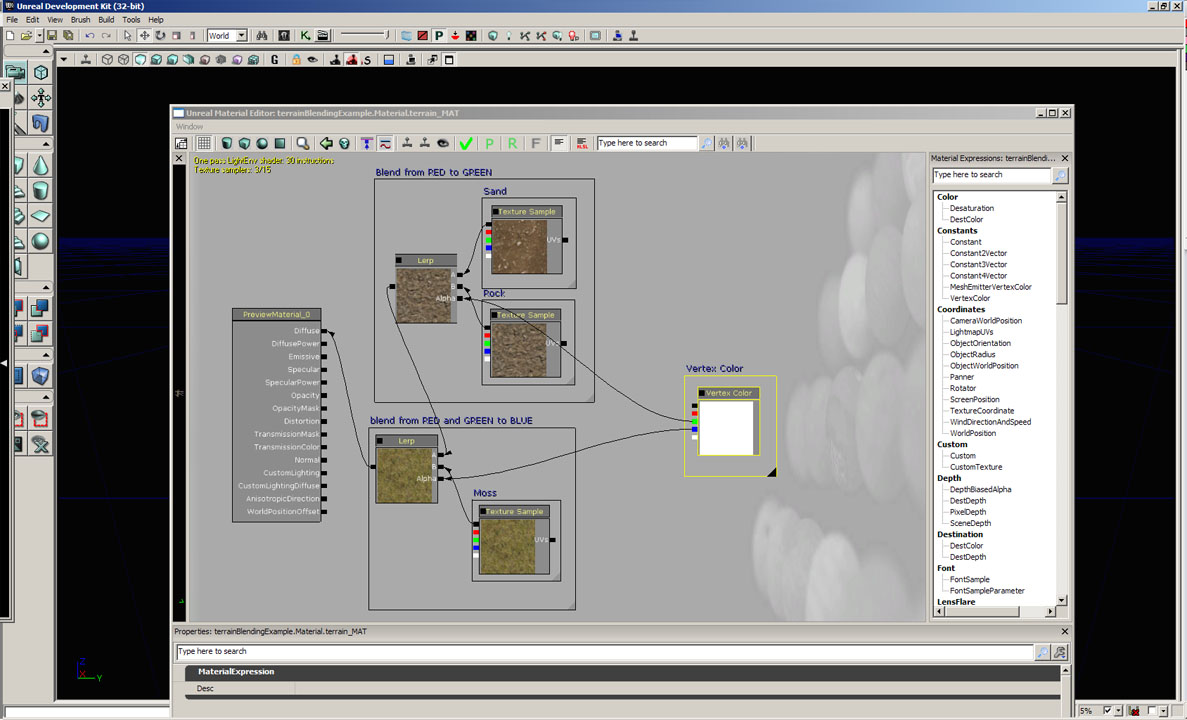
This is a basic node setup for a simple material that blends multiple textures based on the vertex color.
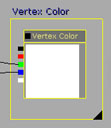
The vertex color expression is a node that specifices your vertex color input. Notice that there are 5 outputs (RGB, red, green, blue, alpha)
The red, green, and blue input corresponds to the red, green, and blue vertex colors on your model.
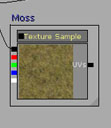
The texture sample expression represents the texture file that you are using in this material. As you noticed, there are 3 texture sample nodes used in that setup because I am blending 3 textures together.
The texture sample node has 5 output nodes and 1 input node.
(RGB, red, green, blue, alpha) as output and (UVs tiling as input)
(note: you can quickly place a texture sample node by pressing "T" and clicking on the Material Editor)
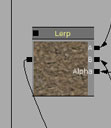
The lerp expression (linear interpolation) is perhaps the most important part of the setup. The node has 3 input and 1 output.
Both input A and B can be connected to a texture. Think of them as slot 1 and slot 2, since this node blends 2 of them together. The alpha node connects to a vector that determines how much to blend between the two inputs. You can think of it like percentage of the blending. The function of LERP is to blend A to B with the given amounts of Alpha.
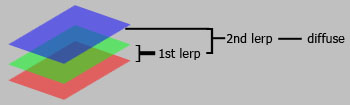
In this setup, we treat the red vertex color as the very first layer. Since the first Lerp is between Red and Green, to make sure that we are blending from Red to Green, We will put Red in slot A, and green in slot B, while using the Green vertex color node to control the gradation.
Once we have the result, we will blend it with the blue vertex color. With the same logic, we will put the combined result of the blending between Red and Green into slot A, and put Blue into slot B, and let the blue vertex color node to control the blending.
An easy way to visualize this is to think of whatever that goes into slot A of the LERP node to always be on the bottom, while we are just adding slot B ontop of slot A, with the amounts defined by a vector value.
Now that we have a very basic material already made, let's preview it on our mesh.
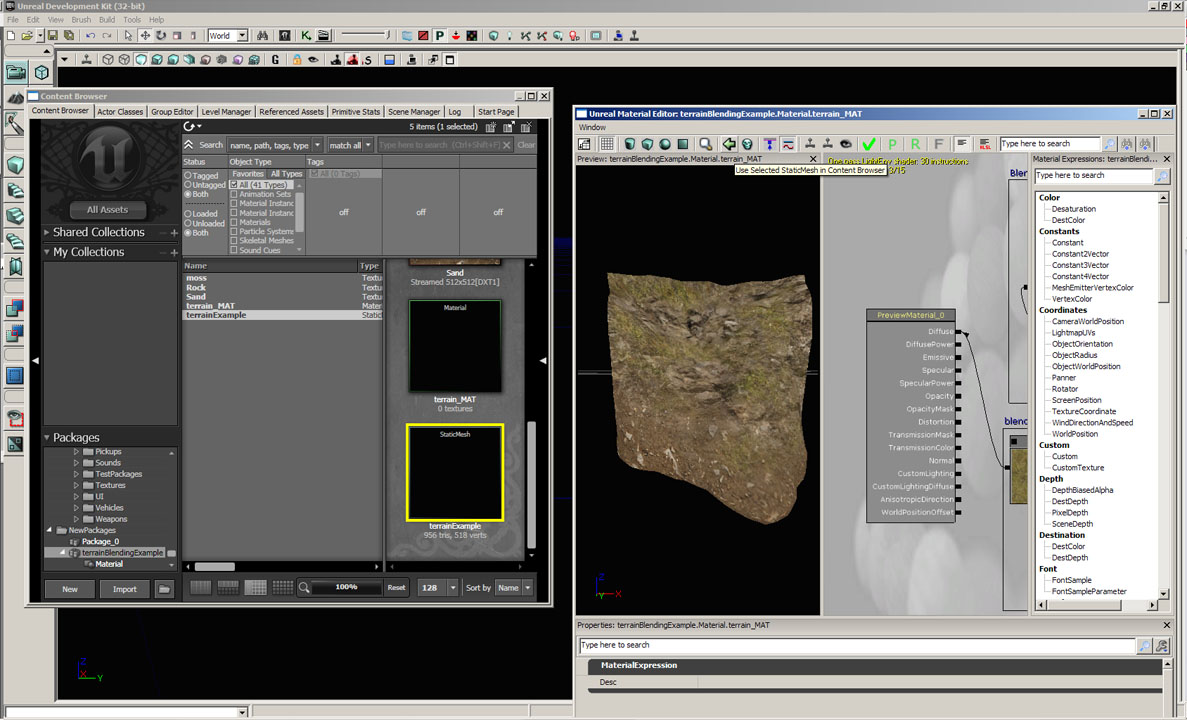
In your Content Browser, find the static mesh that you have imported into the package. Highlight it, and go back to the material browser. Click on the green arrow icon on the toolbar. It will load the static mesh into the Material Editor and use it as a preview mesh.
As you can see the material is functioning as intended.
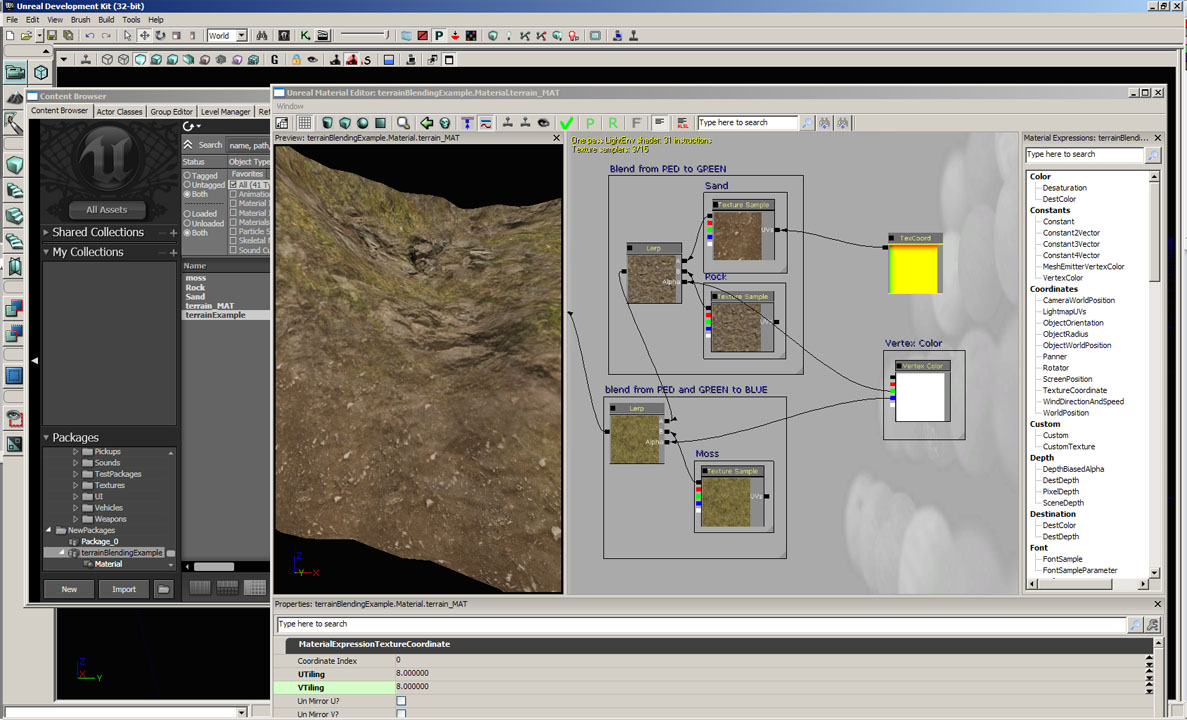
We can insert a TexCoord node into the Texture Sample's UVs input to define the tiling of that specific texture. Notice there are significant amounts of tiling for the sand texture.
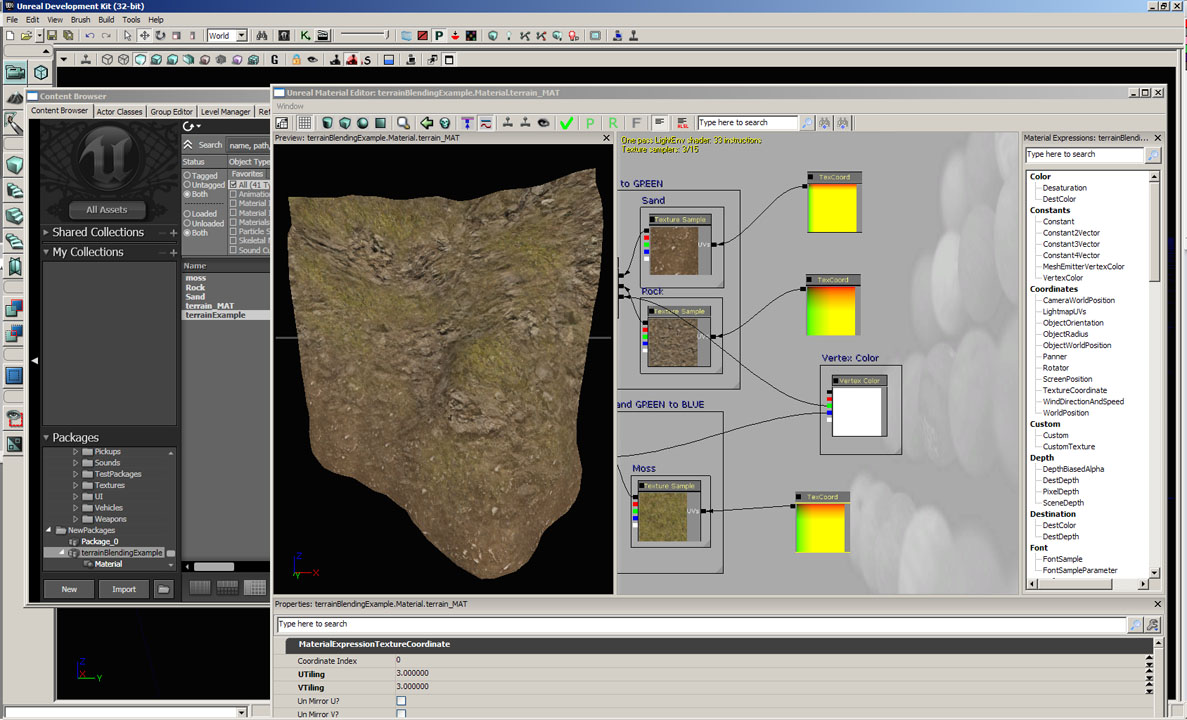
The end result of appropriate amounts of tiling are applied to each node. The tiling results may vary based on the size of your UVs layout.
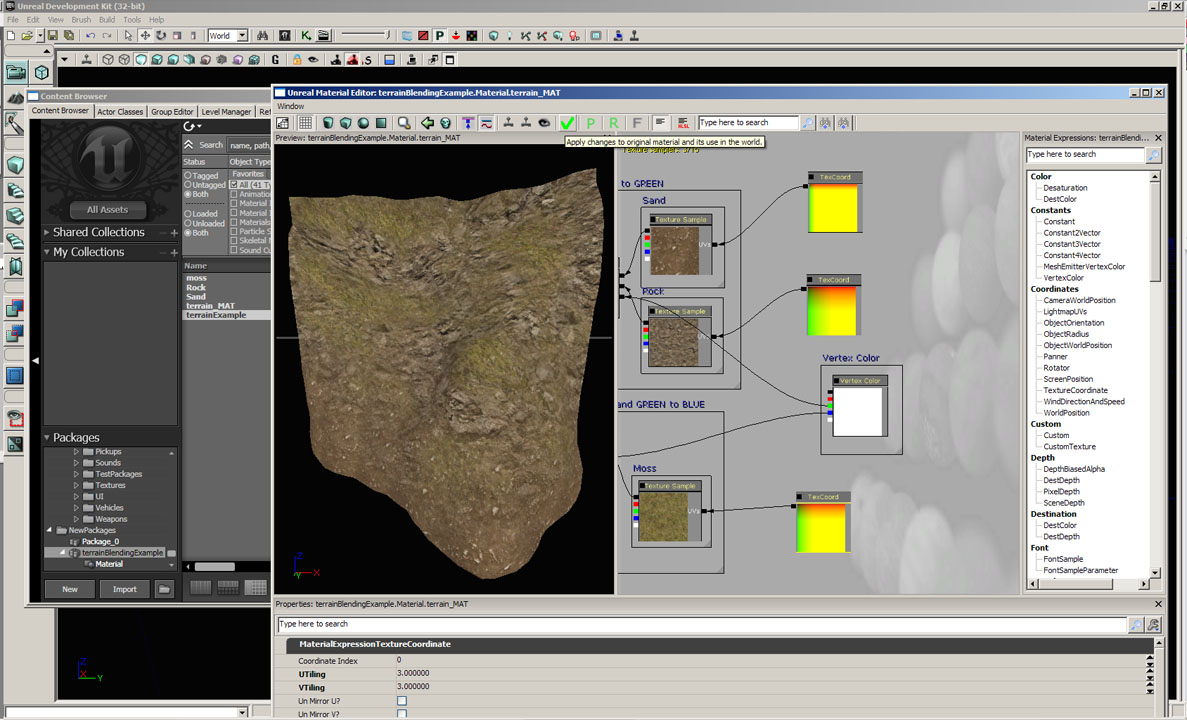
You may now check the green arrow to apply the changes to your material. Remember to save your package.
In the next segment, we will conclude this tutorial with some extra informations.
This concludes the material setup part of the tutorial.
Page
Copyright 2004-2019 Andy Xiao. All Rights Reserved.